Inside Plastering: High Quality Craftsmanship for Flawless Wall Surfaces
Inside Plastering: High Quality Craftsmanship for Flawless Wall Surfaces
Blog Article
Key Tips and Equipment for Successful Plastering in Your Home Enhancement Undertakings
Accomplishing a flawless plaster surface in your house renovation projects calls for a mix of the right devices and tested strategies. Essential carries out such as the hawk and trowel are critical for reliable application, while appropriate surface area prep work lays the foundation for success. Additionally, recognizing the nuances of mixing plaster and using it in thin layers can substantially influence the final result. As we discover these fundamental facets, it ends up being noticeable that avoiding usual mistakes can boost your plastering abilities-- guaranteeing your next task not only fulfills however goes beyond assumptions.
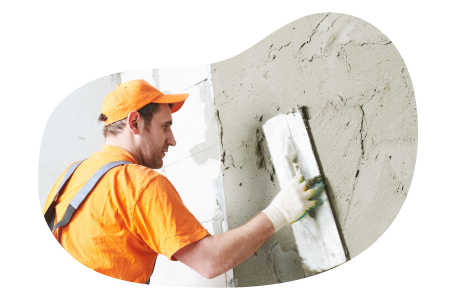
Essential Gluing Devices
A plasterer's toolkit is basic to attaining a smooth and sturdy coating on ceilings and wall surfaces. The necessary devices incorporate a range of executes made to facilitate the smudging process effectively and successfully. Trick elements consist of a hawk, which is a level, square device made use of to hold the plaster while using it to surfaces. This tool enables easy transportation and application of the product.
Additionally, a blending bucket is required for preparing plaster, making certain the best uniformity before application (Plastering). With each other, these necessary plastering devices make it possible for both professionals and DIY lovers to attain premium results in their gluing projects.
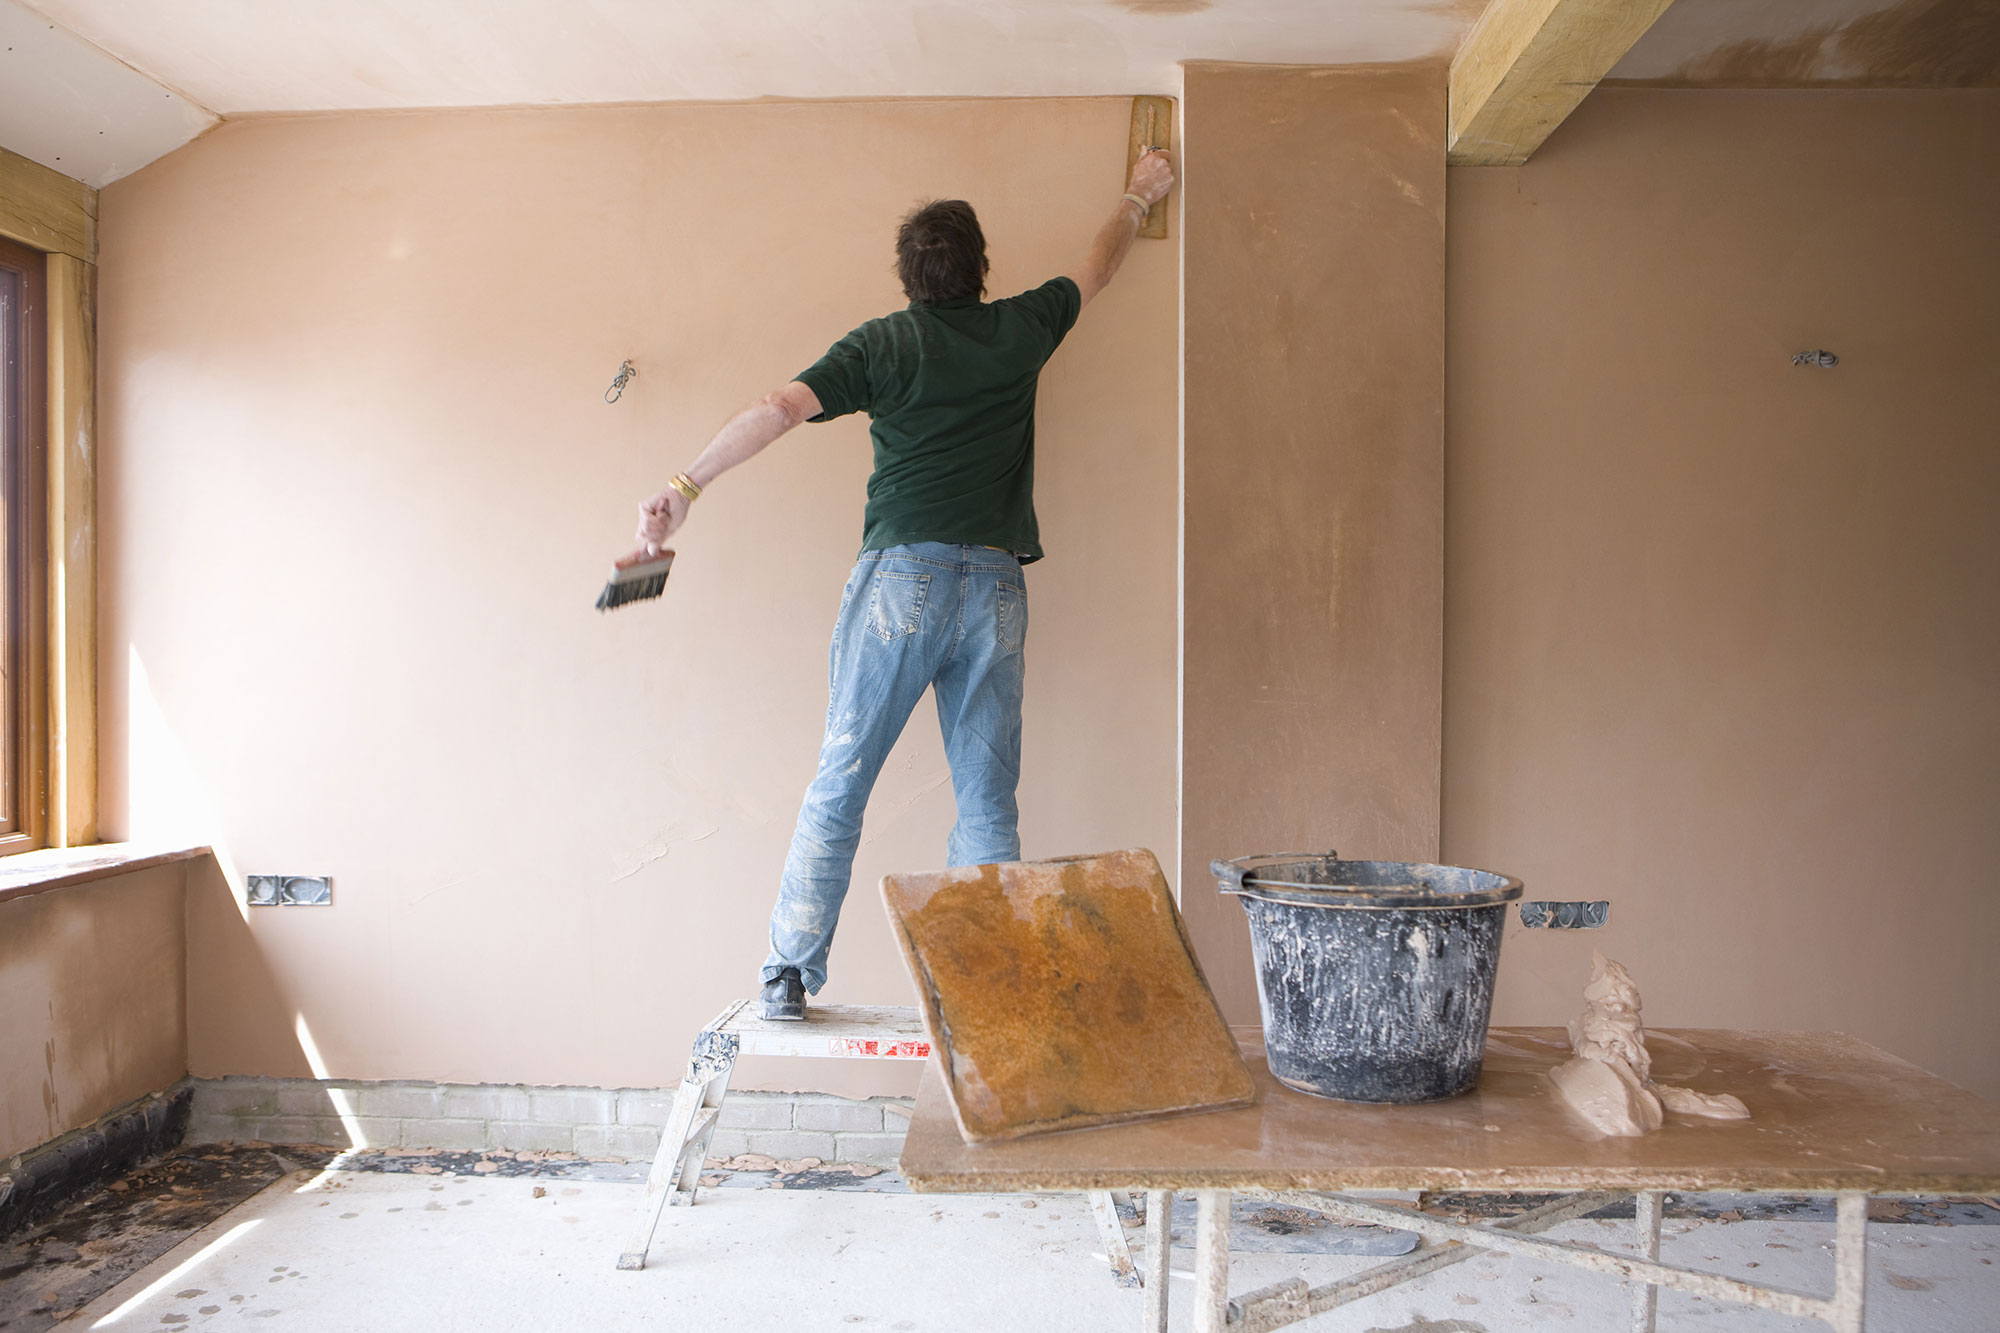
Surface Area Prep Work Strategies
Effectively preparing the surface area prior to smudging is important for making sure adhesion and accomplishing a perfect coating. The primary step includes cleansing the surface to remove any kind of dust, grease, or old paint that may hinder the plaster's capability to bond efficiently. An extensive clean with a suitable cleaning remedy is advised, complied with by washing and allowing the surface to completely dry entirely.
Following, assess the surface for any kind of flaws or fractures. These need to be loaded with an appropriate filler substance and enabled to heal according to the manufacturer's directions. For porous surface areas, using a primer is necessary to enhance and produce an uniform structure bond.
Furthermore, it is important to guarantee that the surface is stable and structurally noise. Any type of loosened materials, such as flaking paint or damaged drywall, ought to be fixed or removed. If dealing with stonework surfaces, think about utilizing a scrape layer to improve hold.
Mixing Plaster Like a Pro
Utilizing a clean mixing container, pour the water initially, then progressively include the plaster powder while stirring constantly - Plastering. This approach aids to protect against clumping and ensures an also circulation of products. A mechanical mixer can be advantageous, offering constant outcomes and conserving time. Go for a luscious, lump-free consistency that permits simple dispersing but is thick enough to hold its form without running.
When blended, allow the plaster to relax for a couple of minutes to make it possible for the plaster crystals to moisturize fully. This pause boosts this workability and lowers the threat of fracturing throughout application. By following these steps, you can blend plaster like a pro, setting the structure for a successful gluing task in your home enhancement ventures.
Application Approaches for Smooth Finishes
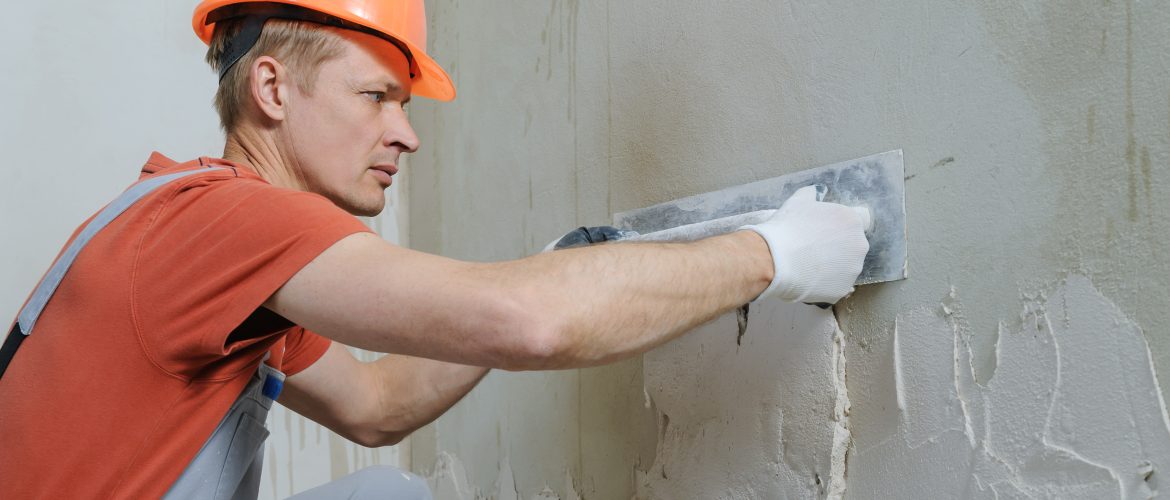
With the plaster combination prepared to the perfect consistency, the next action includes selecting suitable application approaches to achieve a smooth coating. The selection of application tools considerably influences the last look of the plastered surface area. For ideal outcomes, a stainless steel trowel is generally recommended. This device permits a fine, also distribution of plaster across the surface area while decreasing trowel marks - Plastering.
Begin by using a charitable amount of plaster More Info to the surface area using the trowel, ensuring it adheres well. As soon as the preliminary layer is used, use a sweeping motion to smooth the surface area, using even pressure.
For the final touches, a damp sponge can be used to refine the surface area better. Gently mist the plaster with water and carefully rub the surface area to attain a refined result. Always remember to work in little areas to keep control over the application procedure, making sure a smooth, expert finish throughout your plastering task.
Common Mistakes to Avoid
When starting a smudging task, preventing usual mistakes is vital for accomplishing a remarkable coating. One of the most widespread errors is ignoring surface prep work. Stopping working to tidy and fix the substrate can bring about poor attachment and unequal surfaces. Guarantee that all dust, oil, and loose materials are eliminated before applying plaster.
Another typical error is applying plaster too heavily. Thick layers can fracture as they dry out, jeopardizing the honesty of the coating. Rather, choose multiple thin layers, enabling each layer to dry entirely prior to using the next.
In addition, poor blending methods can cause inconsistent structure and workability. Constantly adhere to the maker's directions for blending proportions and completely blend the plaster to accomplish a consistent uniformity.
Timing additionally plays a crucial role; plaster must be used while useful source the substrate is damp to boost attachment. Premium trowels and floats can make a substantial distinction in achieving a smooth finish.
Final Thought
Effective plastering requires a comprehensive understanding of vital devices and strategies. Proficiency of these components not only contributes to the visual appeal of a room but also guarantees resilience and durability in gluing tasks, making them important to successful home improvement ventures.
A float is one more vital tool, which assists in leveling the plaster and achieving a consistent surface area.
By adhering to these steps, you can blend plaster like a professional, establishing the structure for an effective plastering task in your home improvement endeavors.
Gently mist the plaster with water and gently massage the surface to attain a refined result.
Report this page